Tubeless tyres come with several different advantages over their tubed counterparts. One of those advantages is a faster and a more convenient puncture repair system. Now, there are many people who own tubeless tyres but are unaware that this simple and easy puncture repair system allows you to fix punctures at your home itself. There's absolutely no need to go to a tyre shop and as long as you have the right tools, you're good to go.
So let's begin by understanding the tools that are required to fix a puncture on a tubeless tyre and later we delve into the steps and procedures involved in repairing the puncture.
Part - 1: Materials Required
A tubeless tyre requires the following materials/equipment for a puncture repair:
- Pliers to extract the object that has caused the puncture
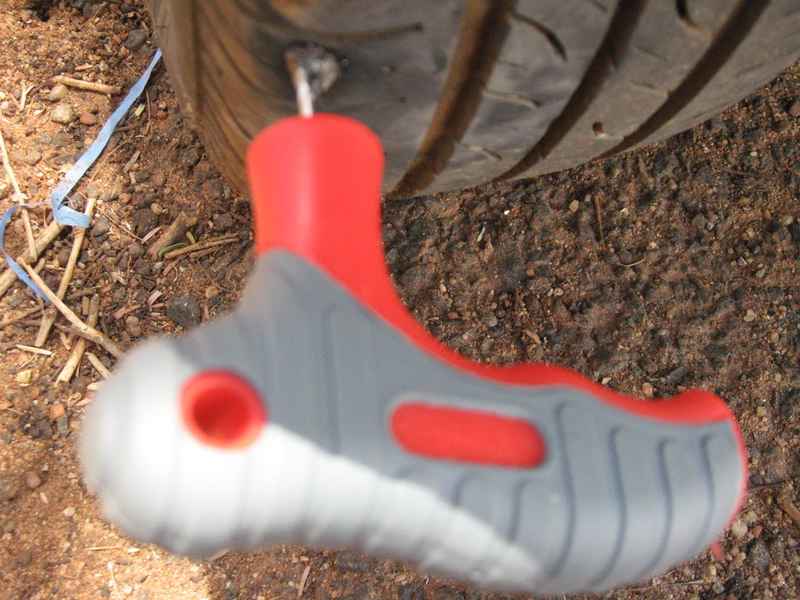
- A Spiral Probe/Tool to smoothen, clean and expand the puncture hole
- A Split-Eye Insertion Tool for inserting the Puncture Repair Strip
- A small amount of Rubber Cement
- A packet of Puncture Repair Strips
- Knife/Blade to cut off the protruding Puncture Repair Strip
- A pump to fill air into the tyres after the repair has been performed
Part 2: Repairing the puncture
Step 1:
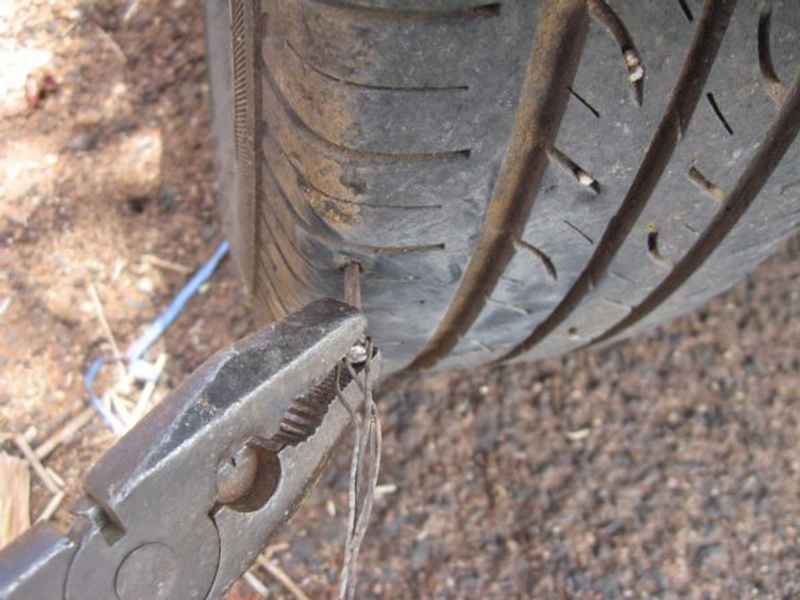
Remove the object that caused your puncture (nail etc) and insert the Spiral Probe in the puncture hole.
Step 2:

Use the probe to expand the hole by inserting it a couple of times in the puncture hole. Rotate the Spiral probe in different directions make sure the puncture hole becomes clean and expands.
Step 3:
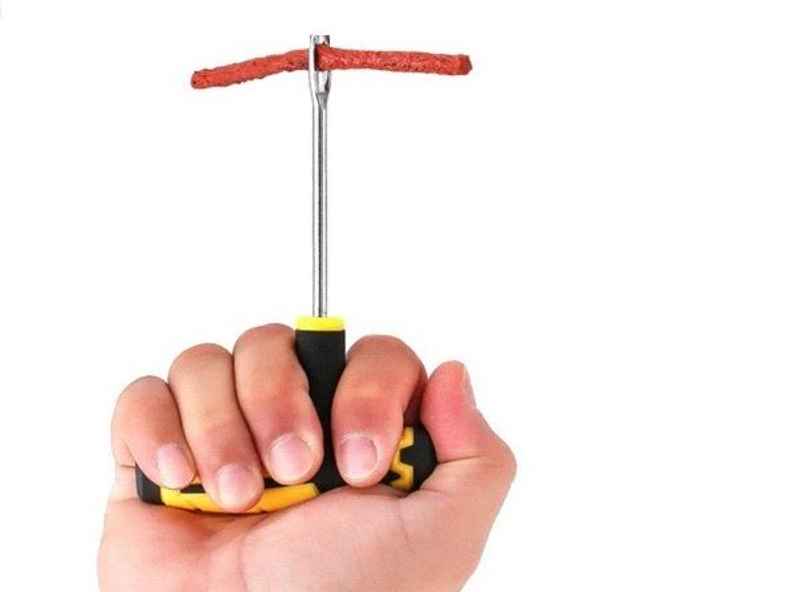
Take a Puncture Repair Strip from the pack and insert it in the eye of the Split-eye Insertion tool. Keep pushing the strip through the eye till the eye lies exactly at the center of the strip.
Step 4
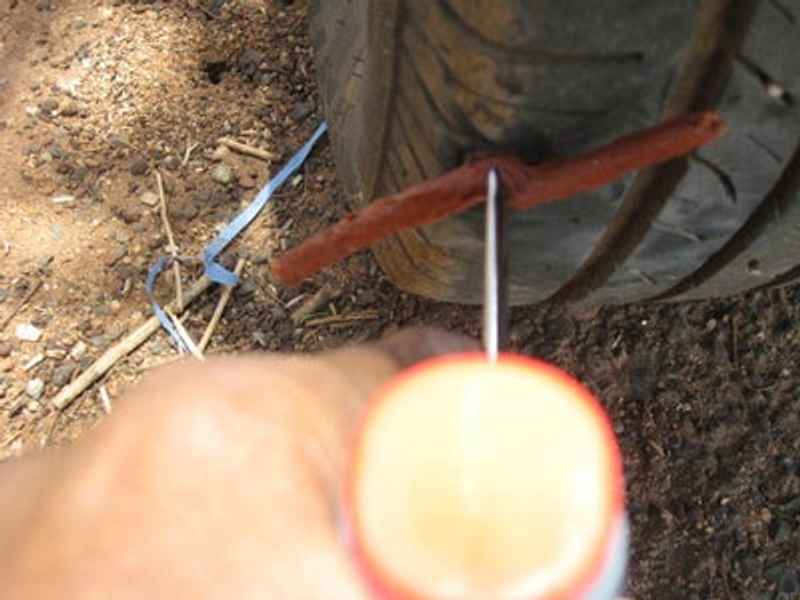
Apply a little bit of Rubber Cement Solution over the Spiral probe and insert it again into the tyre to fill the puncture with some cement. Now, without any delay, remove the Spiral Probe and immediately use the Split-Eye Insertion tool to insert the repair strip into the hole. The two halves of the repair strip will fold towards each other during insertion. Make sure that you only insert the folded strip 2/3rds of the way so that a little bit of the strip sticks out of the tyre.
Also Read: Keep A Tab On The Car Tyre Pressure Regularly & Stay Safe On Roads
Step 6:
Once you're about 2/3rd of the way in, twist the Insertion tools 360 degrees while simultaneously pulling it out of the tyre. The goal here is to keep the repair strip in place as you take the Split-Eye Insertion tool out. Don't pull it out too hard or you might take the out the strip along with the tool.
Step 7:
Use a knife to trim the excess length of the Repair Strip protruding out if you want. You can also leave it as it is and the extra bit will flatten out and weather as you run your vehicle.
Step 8:
Once your repair is done, use a pump or a portable air inflator to fill air into the tyres. It's always better if you carry air inflators along with you as they are extremely efficient and quickly refill the air in your tyres. To know more about how you can save yourself from the time and effort of manually refilling your tyres, read our article on portable air inflators here.
Image Credits: autoindica, instructables, xtyixuan